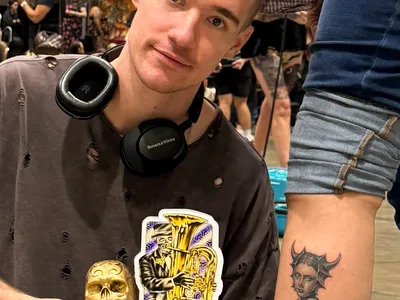
One day a guy with a terrible raven tattoo on his shoulder, which he made with his local master came to me. He wanted a raven, but he got some sort of embryo of a jackdaw.
He asked to fix the raven, but since the guy had an idea to make a whole sleeve, I suggested that we start from the bottom of his hand from clean skin and, in accordance with the colors and sizes of the new tattoo, decide in the process how to remodel this raven.
When we discussed with him what and how we will continue, he said that he liked the marine theme, cause he is associating his soul with the sea. So the idea to make a composition of the ship came to me.
I would like to separately talk about preparing the project to work. First, I sketch on his hand, estimate the location, details, take measurements. Then I prepare a sketch in Photoshop, I always increase the contrast and print.
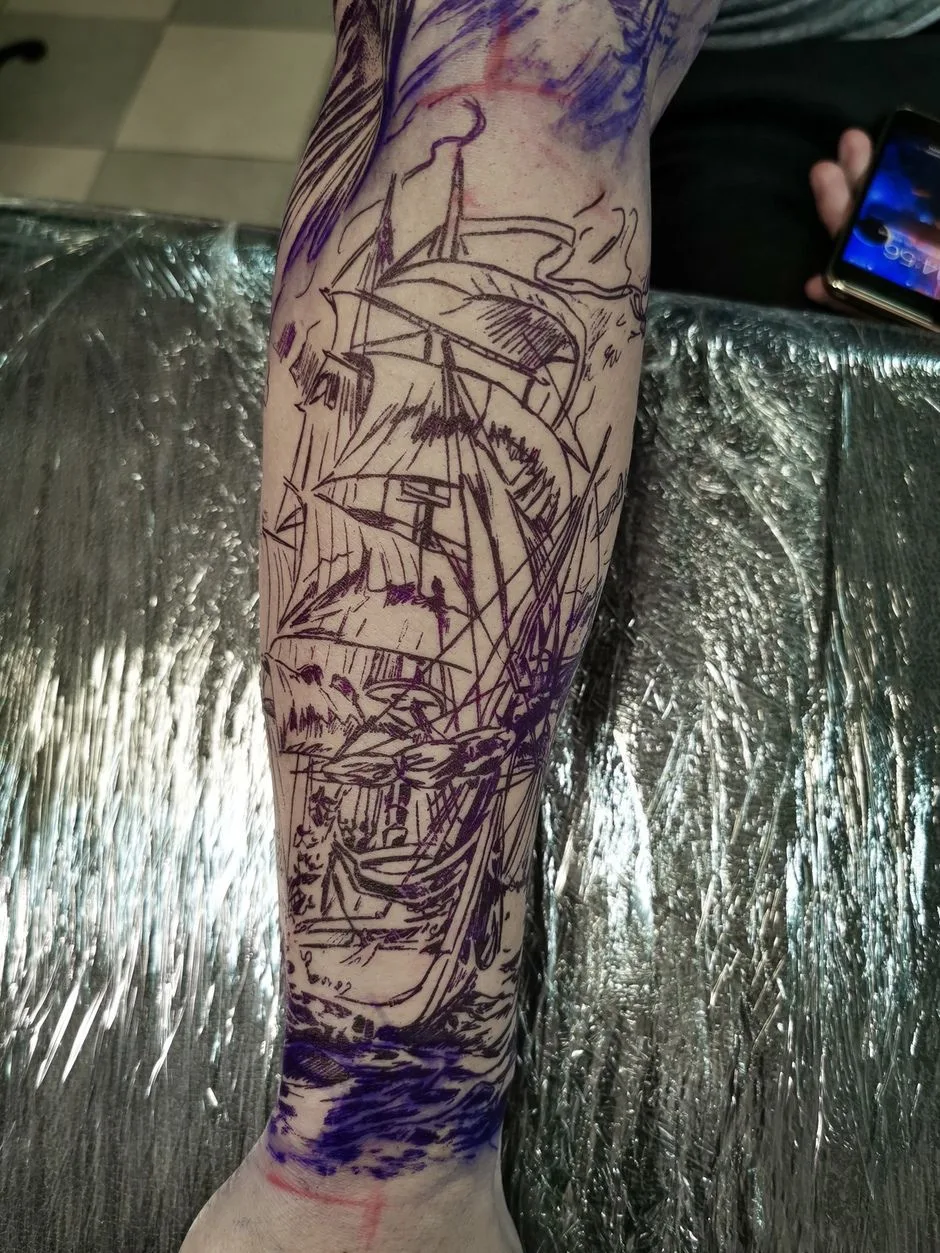
I transfer the sketch exclusively by hand, marking line after line. I already partially imagine that I'm tattooing, thinking about the work itself, remember and note important points and details, separating «warm from soft». This is a kind of draft for me, like training before the main stage.
That is why I do not use a printer. With a printer, there is simply no way to think over and «feel» the future tattoo. Also, such printers are very often mistaken and do not provide the necessary purity of transfer, which creates a lot of inconvenience and confusion at the design stage.
This is one of the most important moments in preparing for work, so I always do this as concentrated as possible without being distracted even by chatting with the client.
First session
Since the work is located on the same hand where the cover-up is planned in the future, I suggested to use some combination of classic black and gray using silver - this is what I call gray shades.
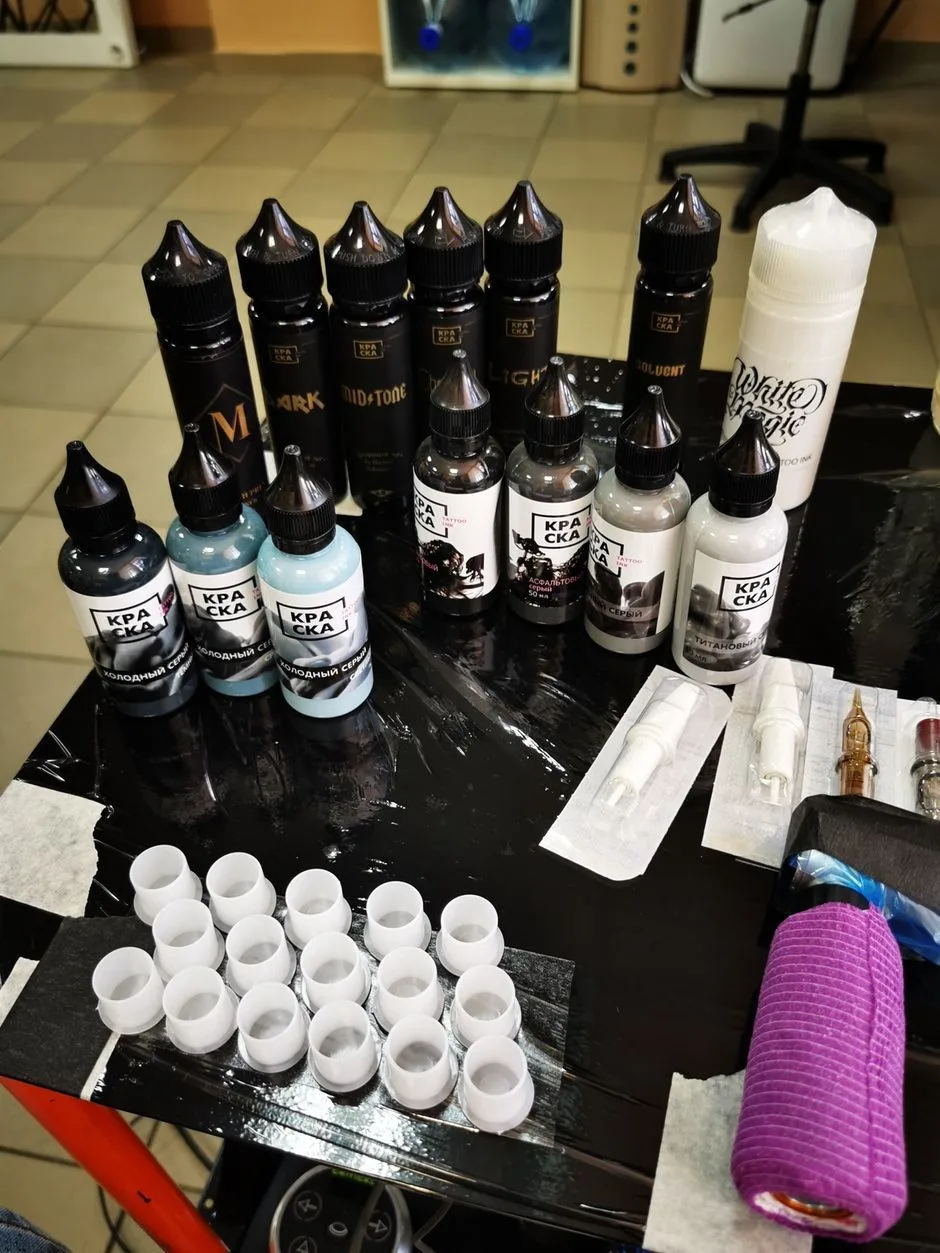
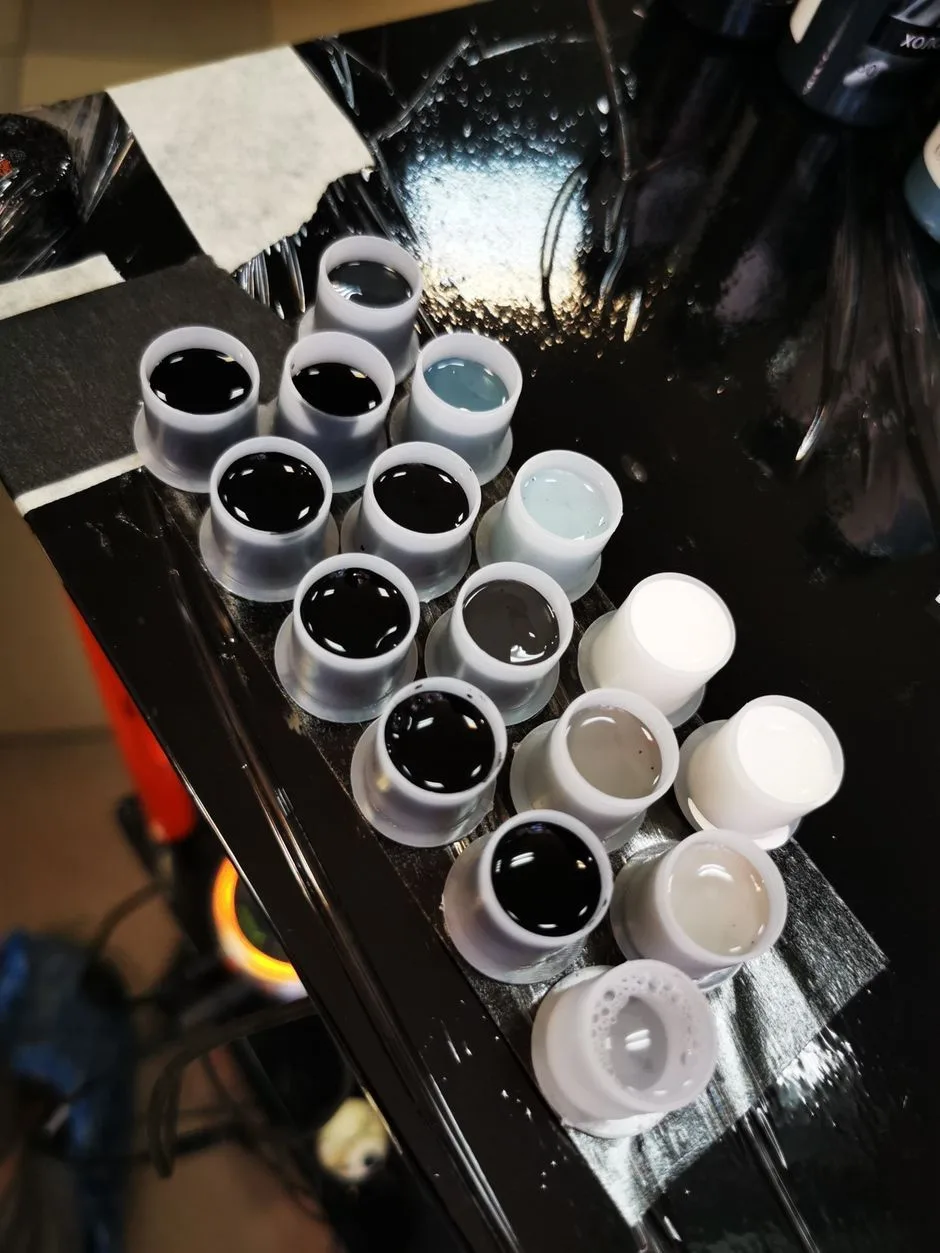
In my work, I used my favorite Lukyanov's set from КРАСКА, with the addition of White Magic by КРАСКА too. For white purity, I use several caps at once.
As for the working technique. Most tattooists use two basic techniques: work in layers and work in detail. Work on layers is used mainly for high-speed work, which for the most part looks rather sad after healing.
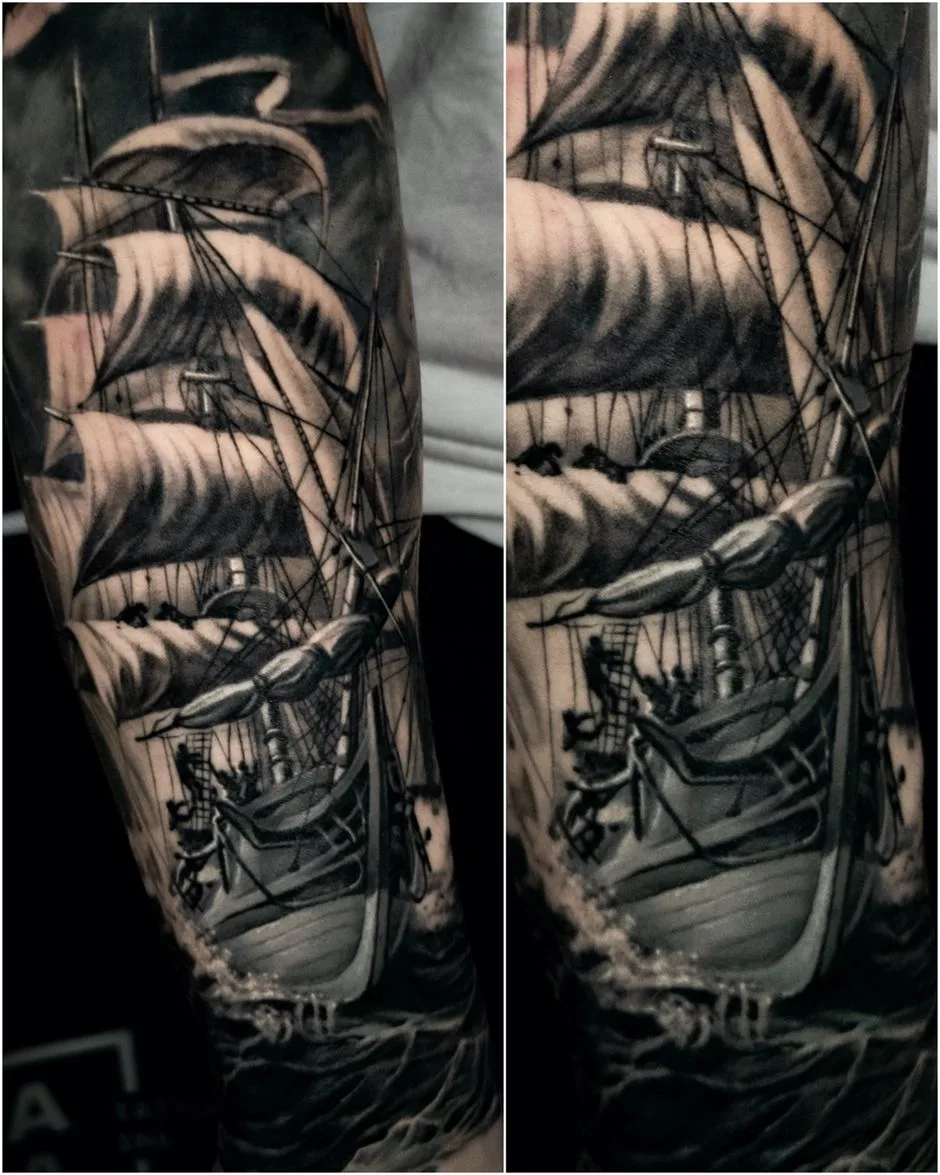
In the work on the details, the colors do not mix with each other, and the same color sandwiched between the other two colors remains in the skin in full, while maintaining a high level of detail. It is clear that the work on this technique is much longer than when working on layers, so in practice it is often necessary to combine both techniques to get the result in the optimal time.
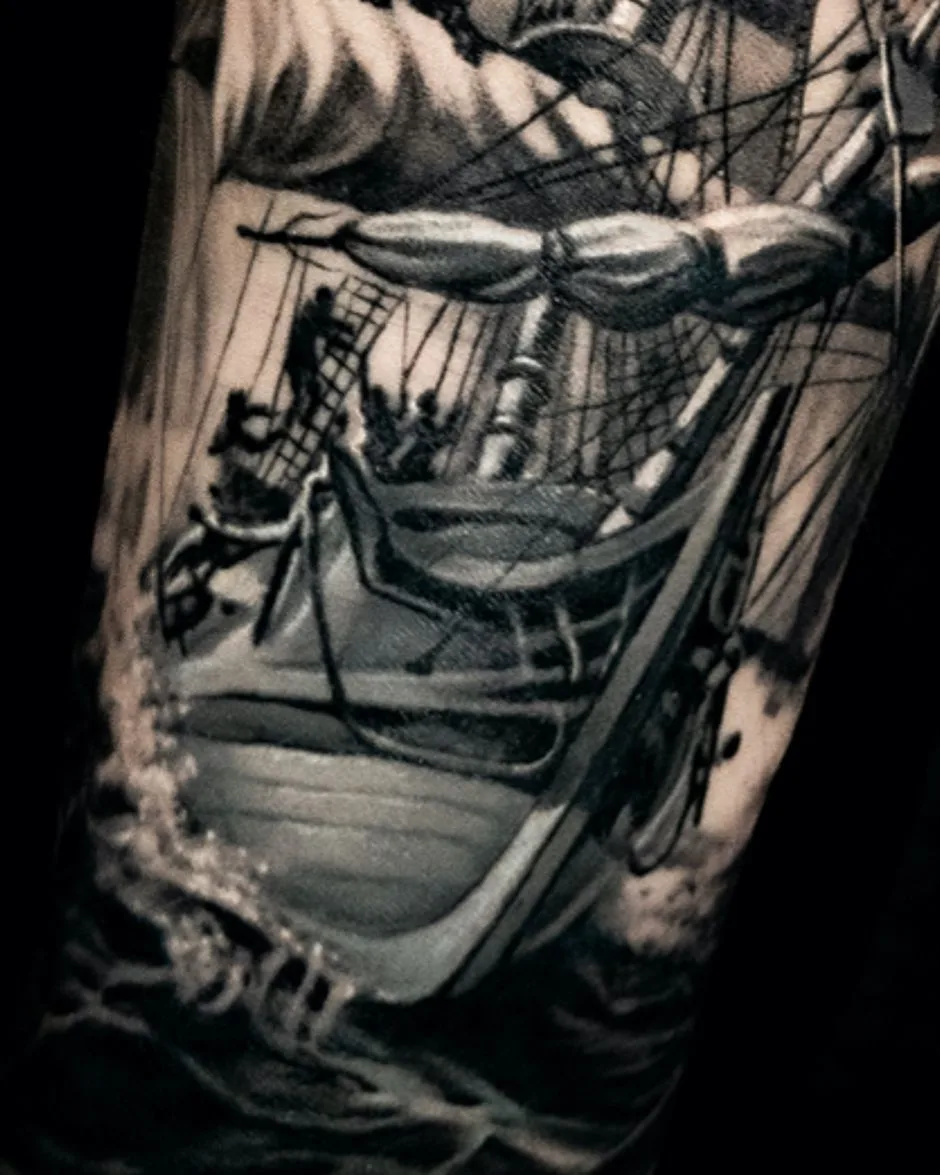
In this work, the customer was primarily concerned with quality, not speed, so I worked on layers only on the stern boards of the ship.
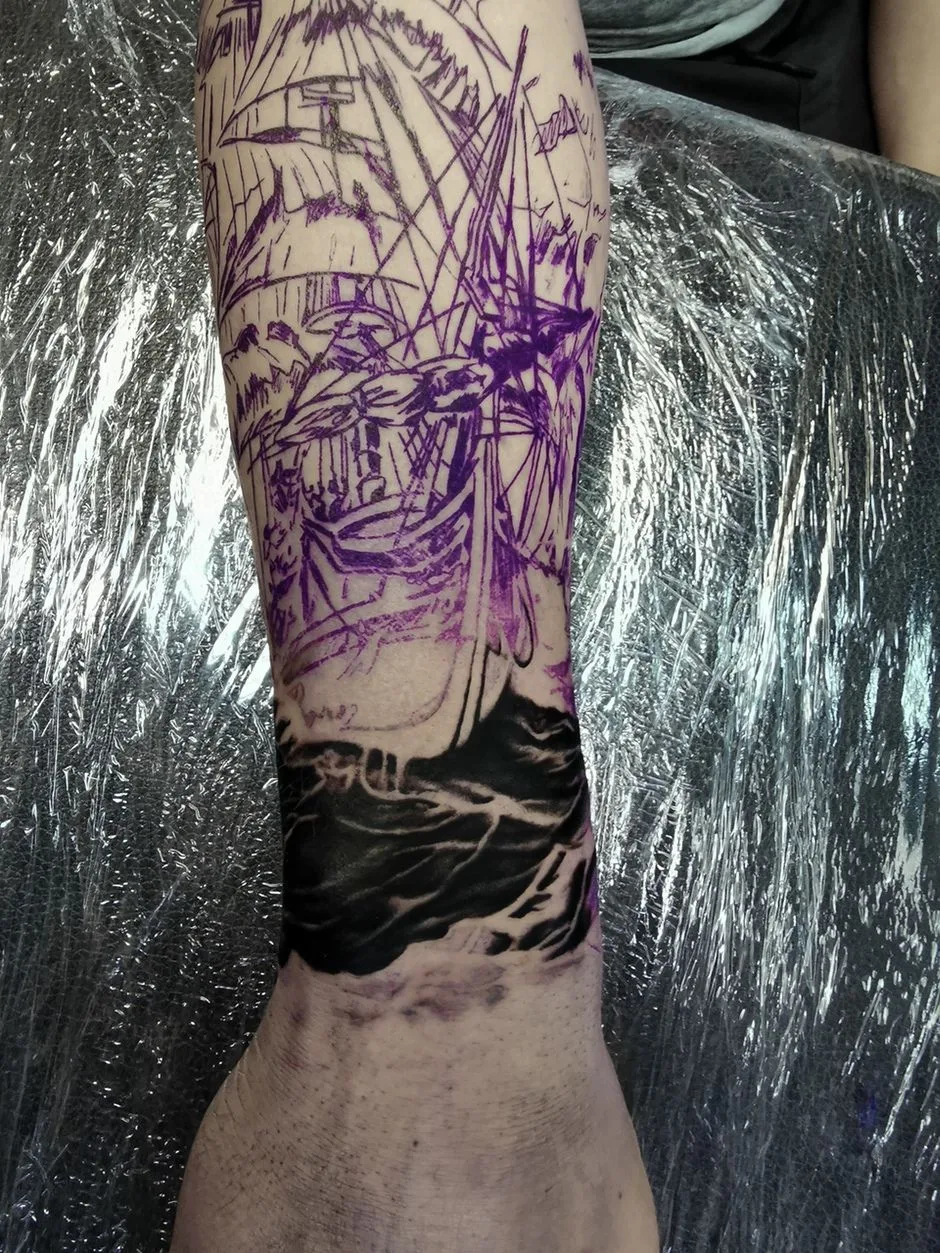
I began working from the sea with black pigment and three shades of grays. Then I proceeded to mark the parts of the ship that needed to be distinguished from the overall picture. It was fundamentally necessary for me to get a metallic shade from the main parts of the ship after healing, and also to work out a little detailing of the sea itself. To do this, I had to leave free skin for cold silver tones.
I consider it important to note that when working with graywash, I prefer the technique of hard tinting pigment rather than light spraying, since the second method is not tenacious enough over time, losing its attractiveness just a couple of months after healing.
The method of hard tinting is of course less attractive for fresh work, since the skin is more irritated and the colors darker by a couple of tones. But after a month or two the colors settle down under the skin and remain in perfect proportions almost until the end of life, and accordingly detailing of the work does not disappear with time.
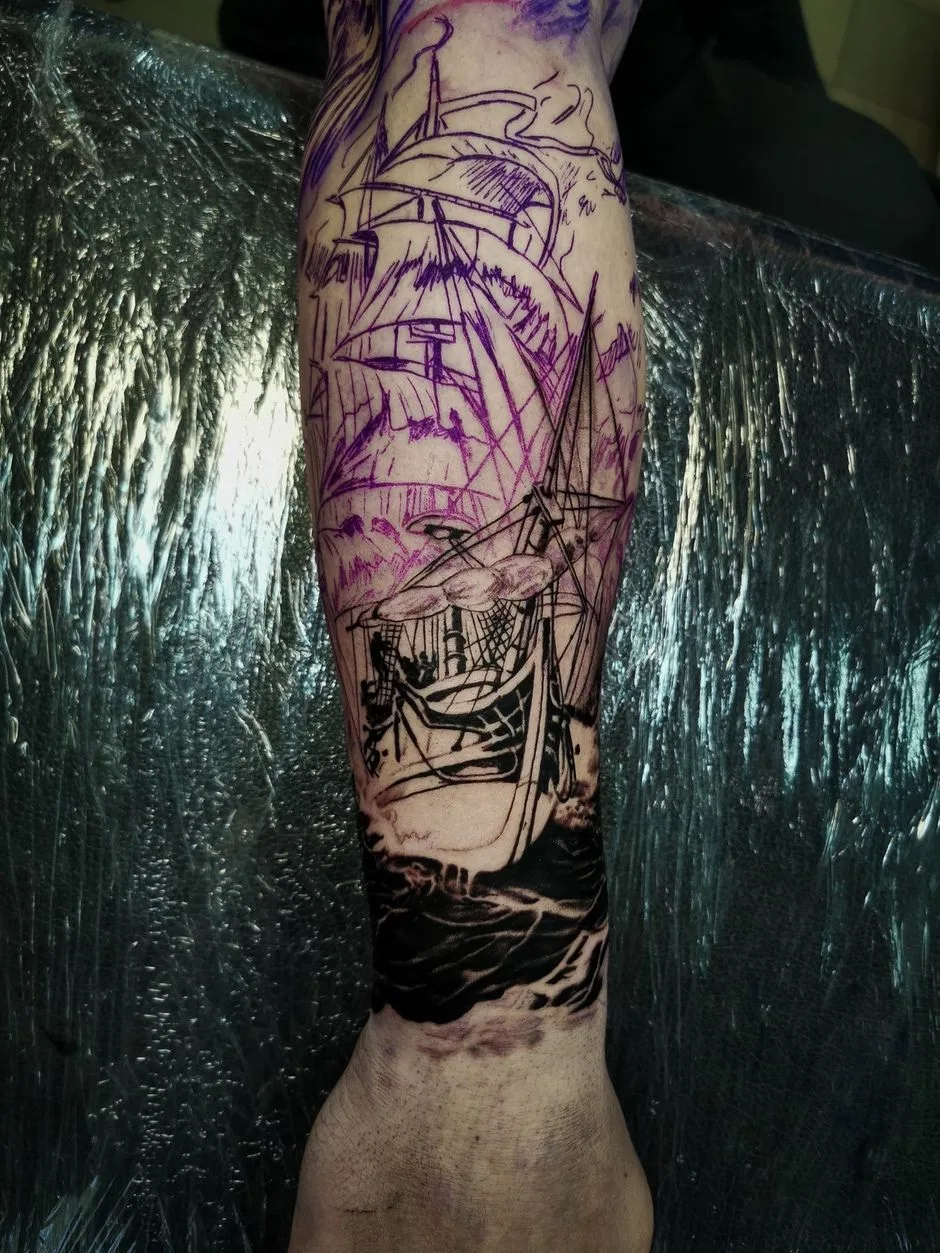
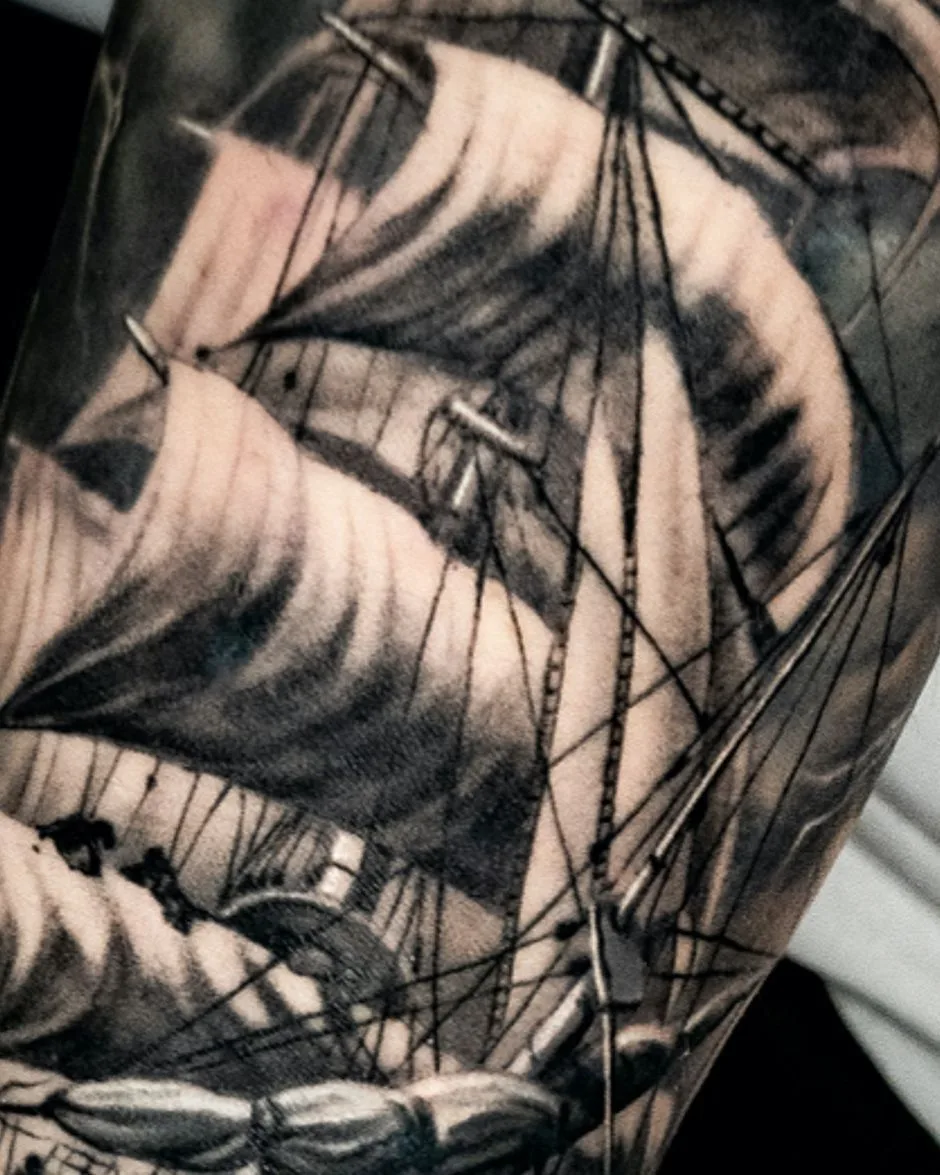
In an hour and a half or two, the entire lower part of the ship was already done. You may notice that at this stage, on the convoluted sail of the ship and the front mast, I did not use any other colors besides the bluish shades of graywashes.
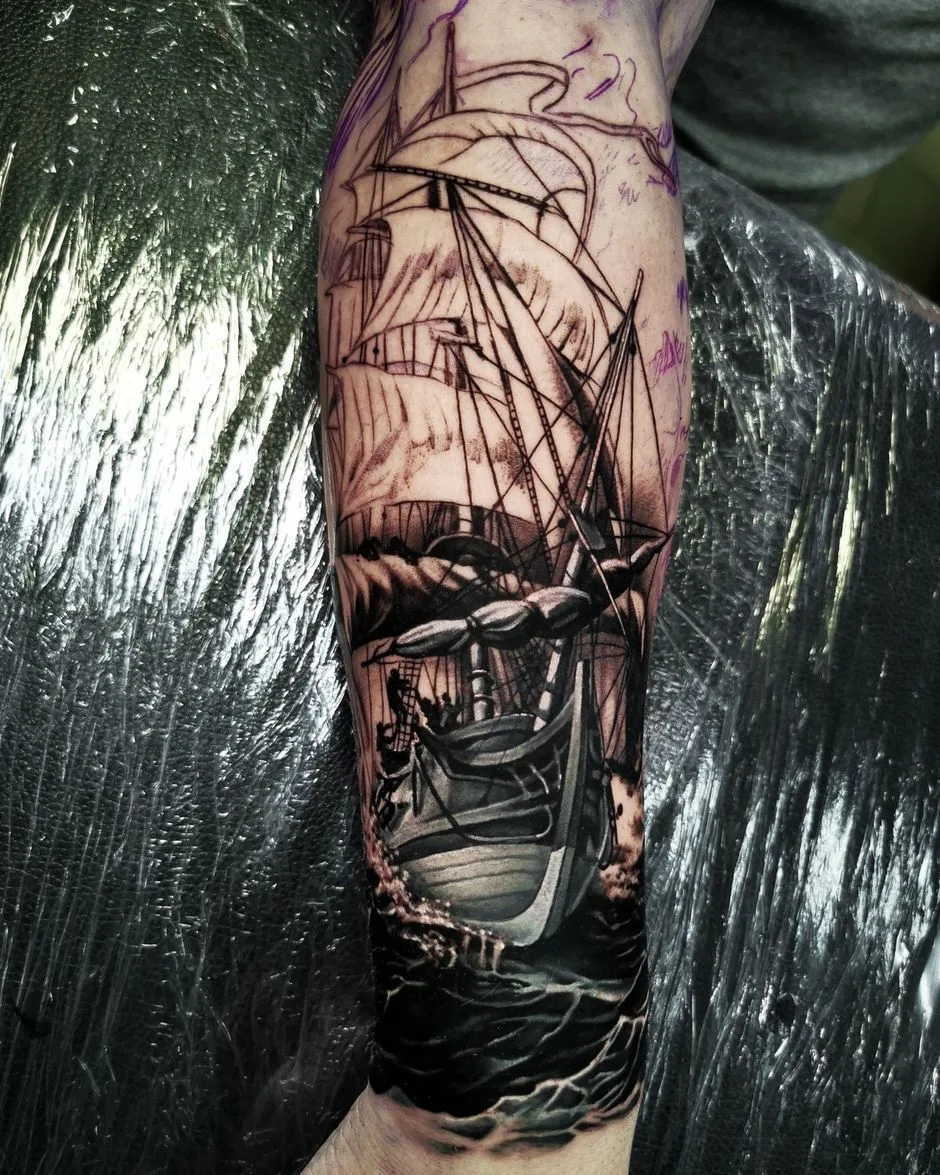
On the ship, I just used not pure gray silver, which is presented in the КРАСКА's palette, but mixed it a little on the needle with cold silver tones to remove the bone tint. When moving to work with the sea, on the contrary, I used pure silver to give some blueness. This does not immediately strike the eye in the picture, but in the overall picture it looks very nice.
I also added light silver tones a little mixing them directly in the skin with the graywashes already laid to stall the movement of color in the skin. That is, as I said earlier, describing the technique of working in detail, I clamped one color between the other two. I painted the front of the wave in the usual cold silver tones, whitening it a bit to give extra volume to the image.

After that, I used smoky shades of graywashes for working out small shadows, reflections and similar details, thereby giving softness to the picture.
On this, the first session was completed. It took about 6 hours, the client was tired, I was tired, so we broke up with him for just a couple of weeks.
In the second session, I started with a background. Since the ship itself, its sails, and the tail of the raven will be light, and in combination with a dark background this will give the necessary contrast transition.
For the background, I used the average shades of silver, interfering with the shades directly on the needle so that the background does not interrupt the basic elements of the image.
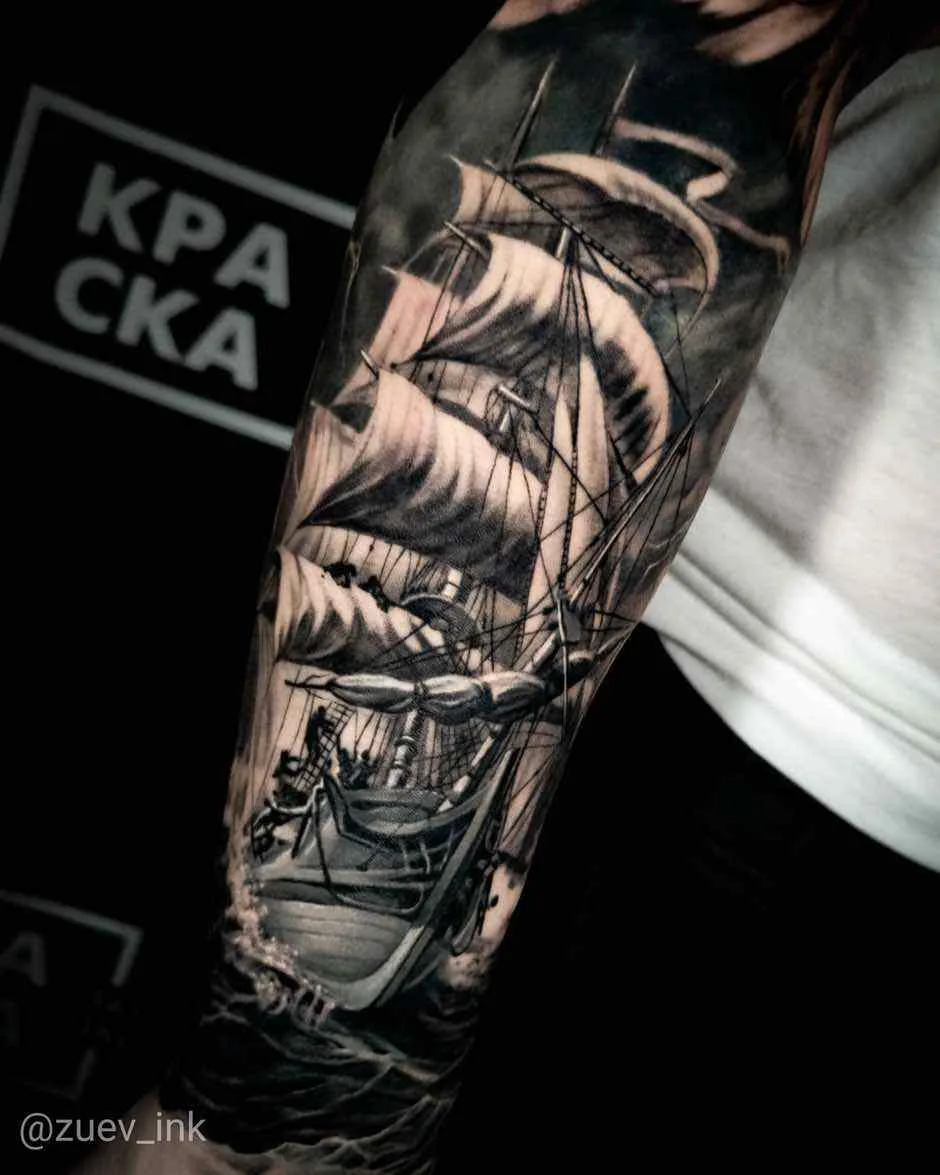
After working out the background, we switched to sails. In them I used only graywashes, here you can see the classic black and gray. It took about 3-4 hours to finish the work.
After 3 weeks, the client had already arrived with almost completely healed work. As you can see in the last photo - the gray color went down perfectly - there are no more spots, the pigment has spread under the skin and smoothed. The same applies to graywashes.
That's all for today. I hope my experience will be useful in your work!